A friend of mine started building a flatpack Bartop Arcade Machine around an All in One PC at work, this gave me the push I needed to start a project I had been thinking about for a couple if years. So I had a week off in early May 2021 and had a look around my garage to see if I had any raw materials.
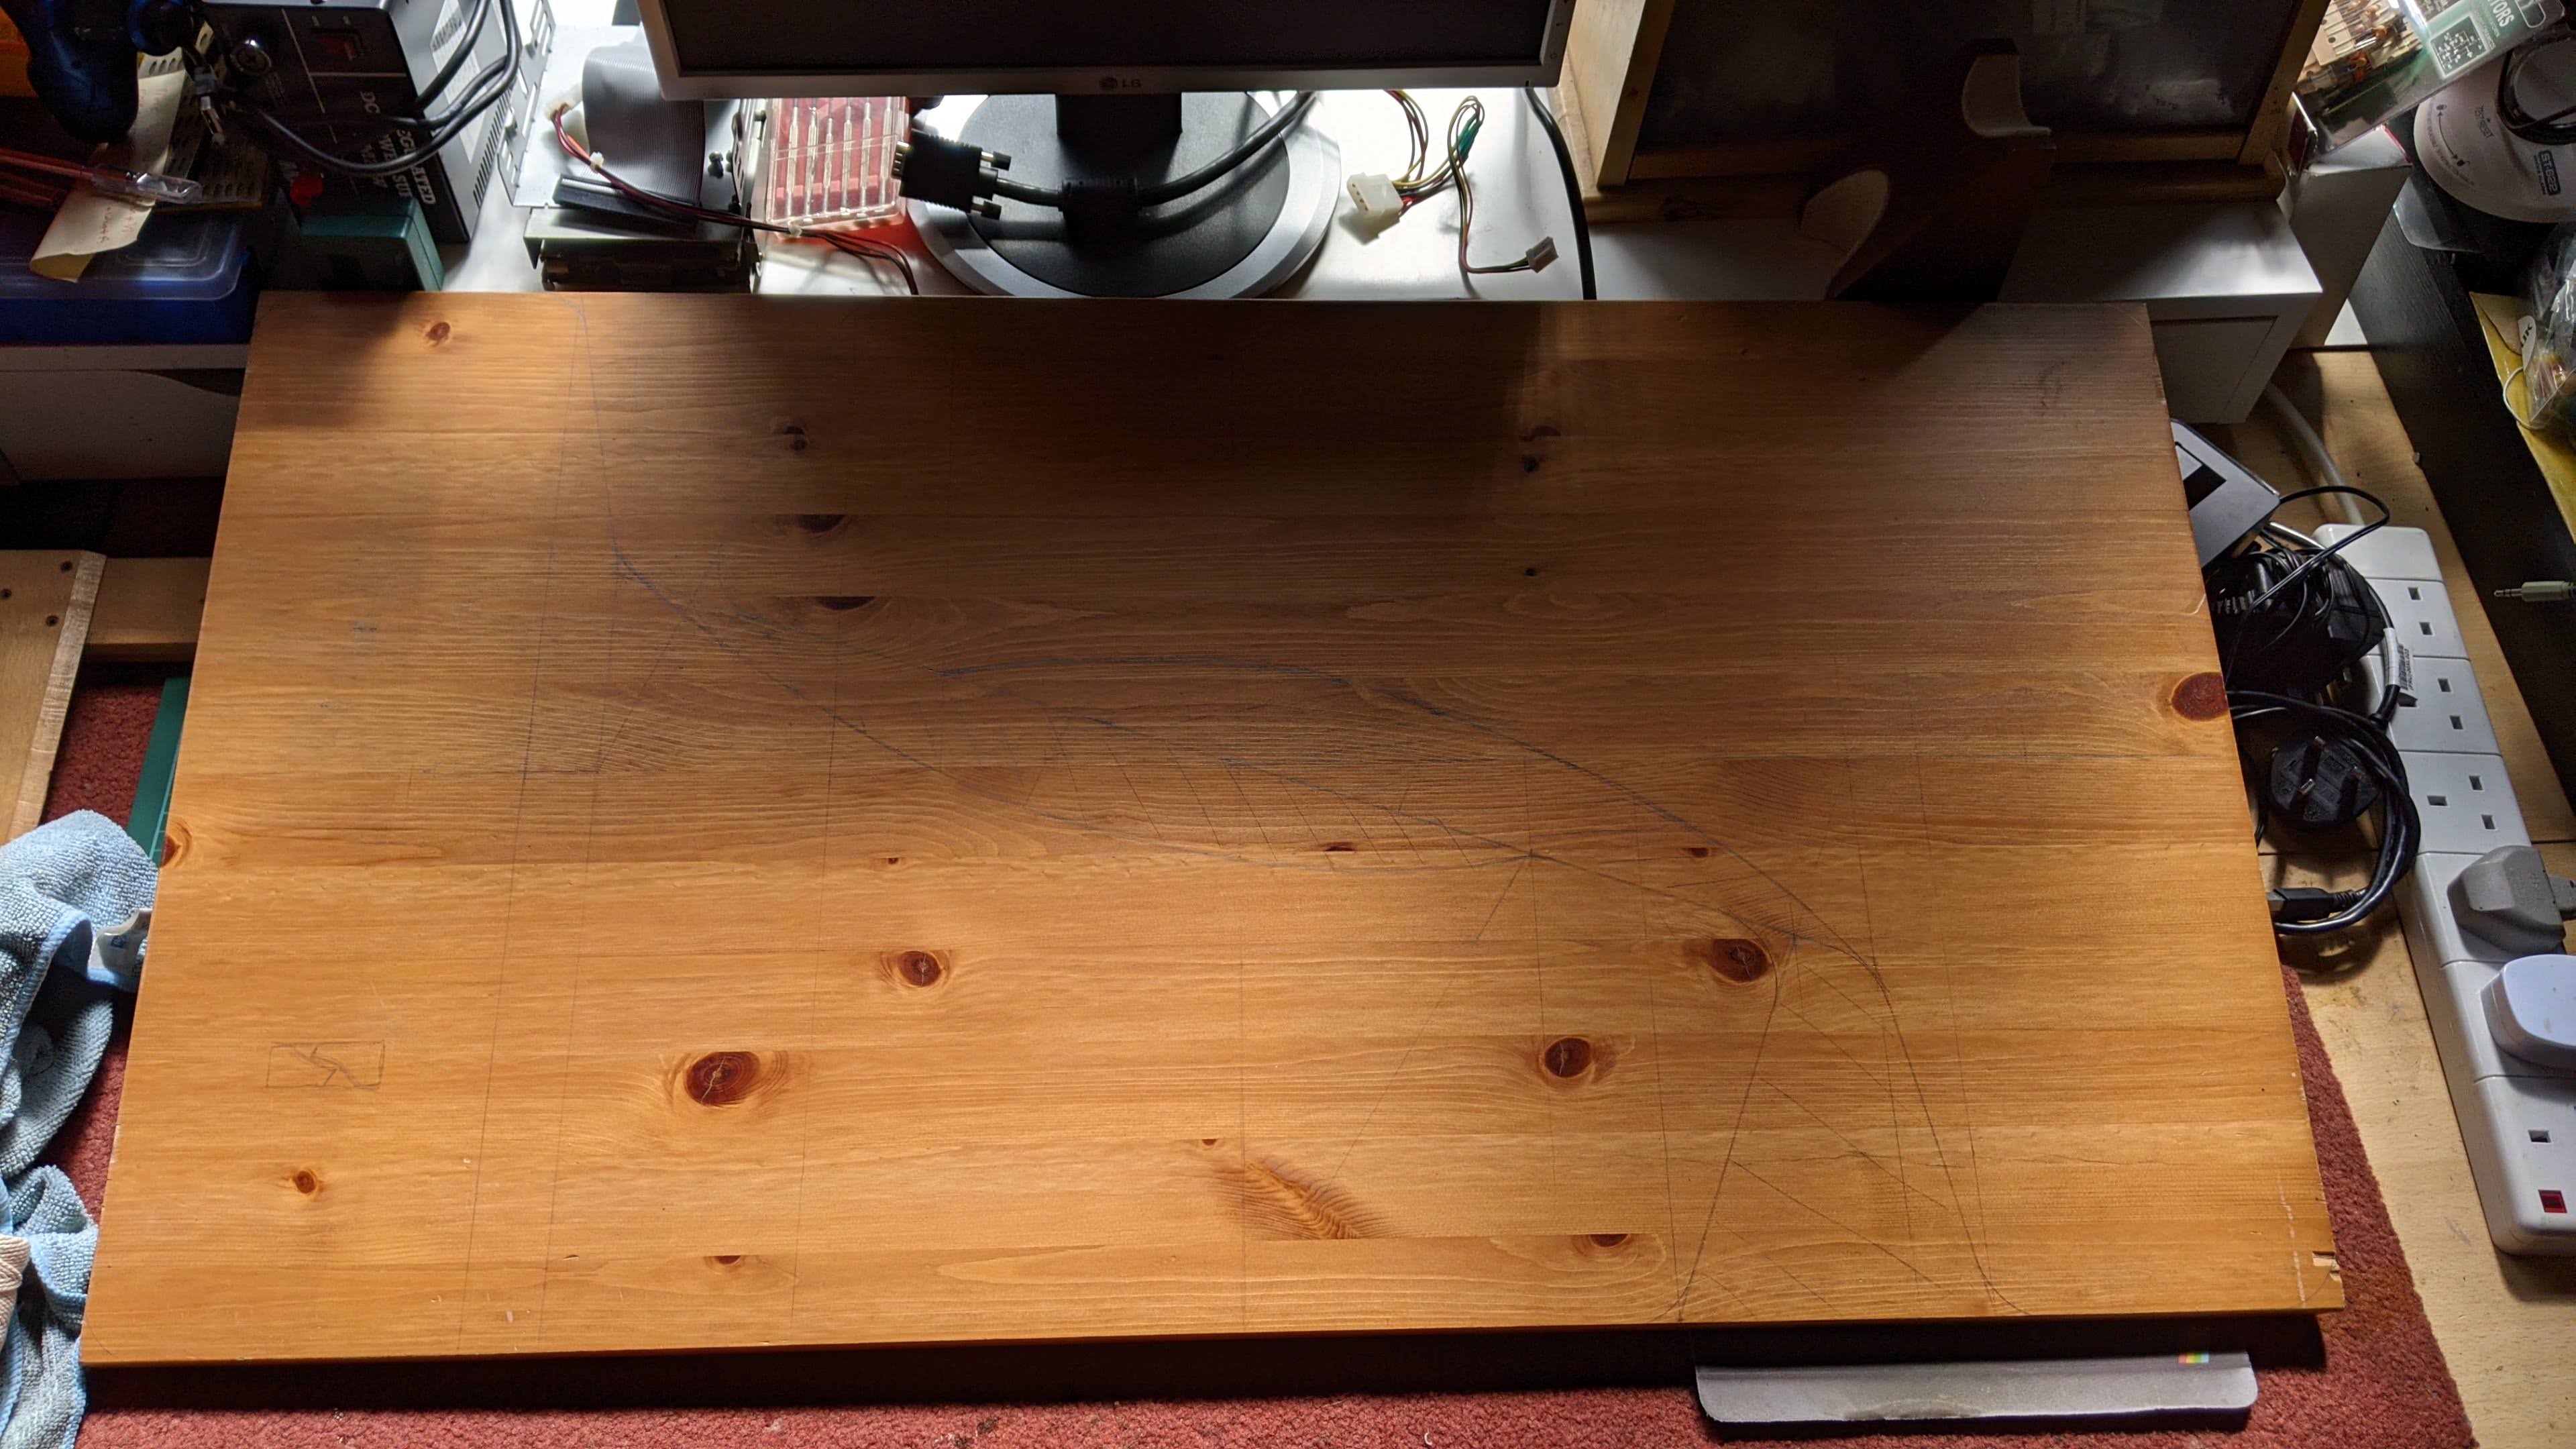
I had some bits of an old wardrobe including a large panel and 2 smaller shelves from the same piece of furniture. The shelves would dictate the footprint of Bartop and I got sketching on the larger piece laying out the sides. I wanted to get two sides out of one piece so I worked out the maximum height (the width was already decided as it matched the shelf that would become the base.

I then got the jigsaw out and cut one of the sides out roughly. The plan was to use double sided tape to stick the 2 rough cut parts together then cut them both accurately at the same time.

The design was off the top of my head, I didn't follow any blueprints or anything, I knew roughly what shape I was after but followed no strict rules on marquee depth or how tall the whole thing would be.
I wanted to use modestly blocks to hold everything together so once the sides were sanded smooth I was able to attach the two sides to the base after marking and pre-drilling the holes where the screws would attach. It's important to so this to prevent the wood from splitting.
And after a couple of hours of work I had something that, in my mind anyway, was starting to look like a Bartop Arcade Machine!

In the next part I'll start to think about placement of the monitor and control panel...
No comments:
Post a Comment
If you have any comments or questions please leave them below