Friday 18 June 2021

Artwork - Part 13

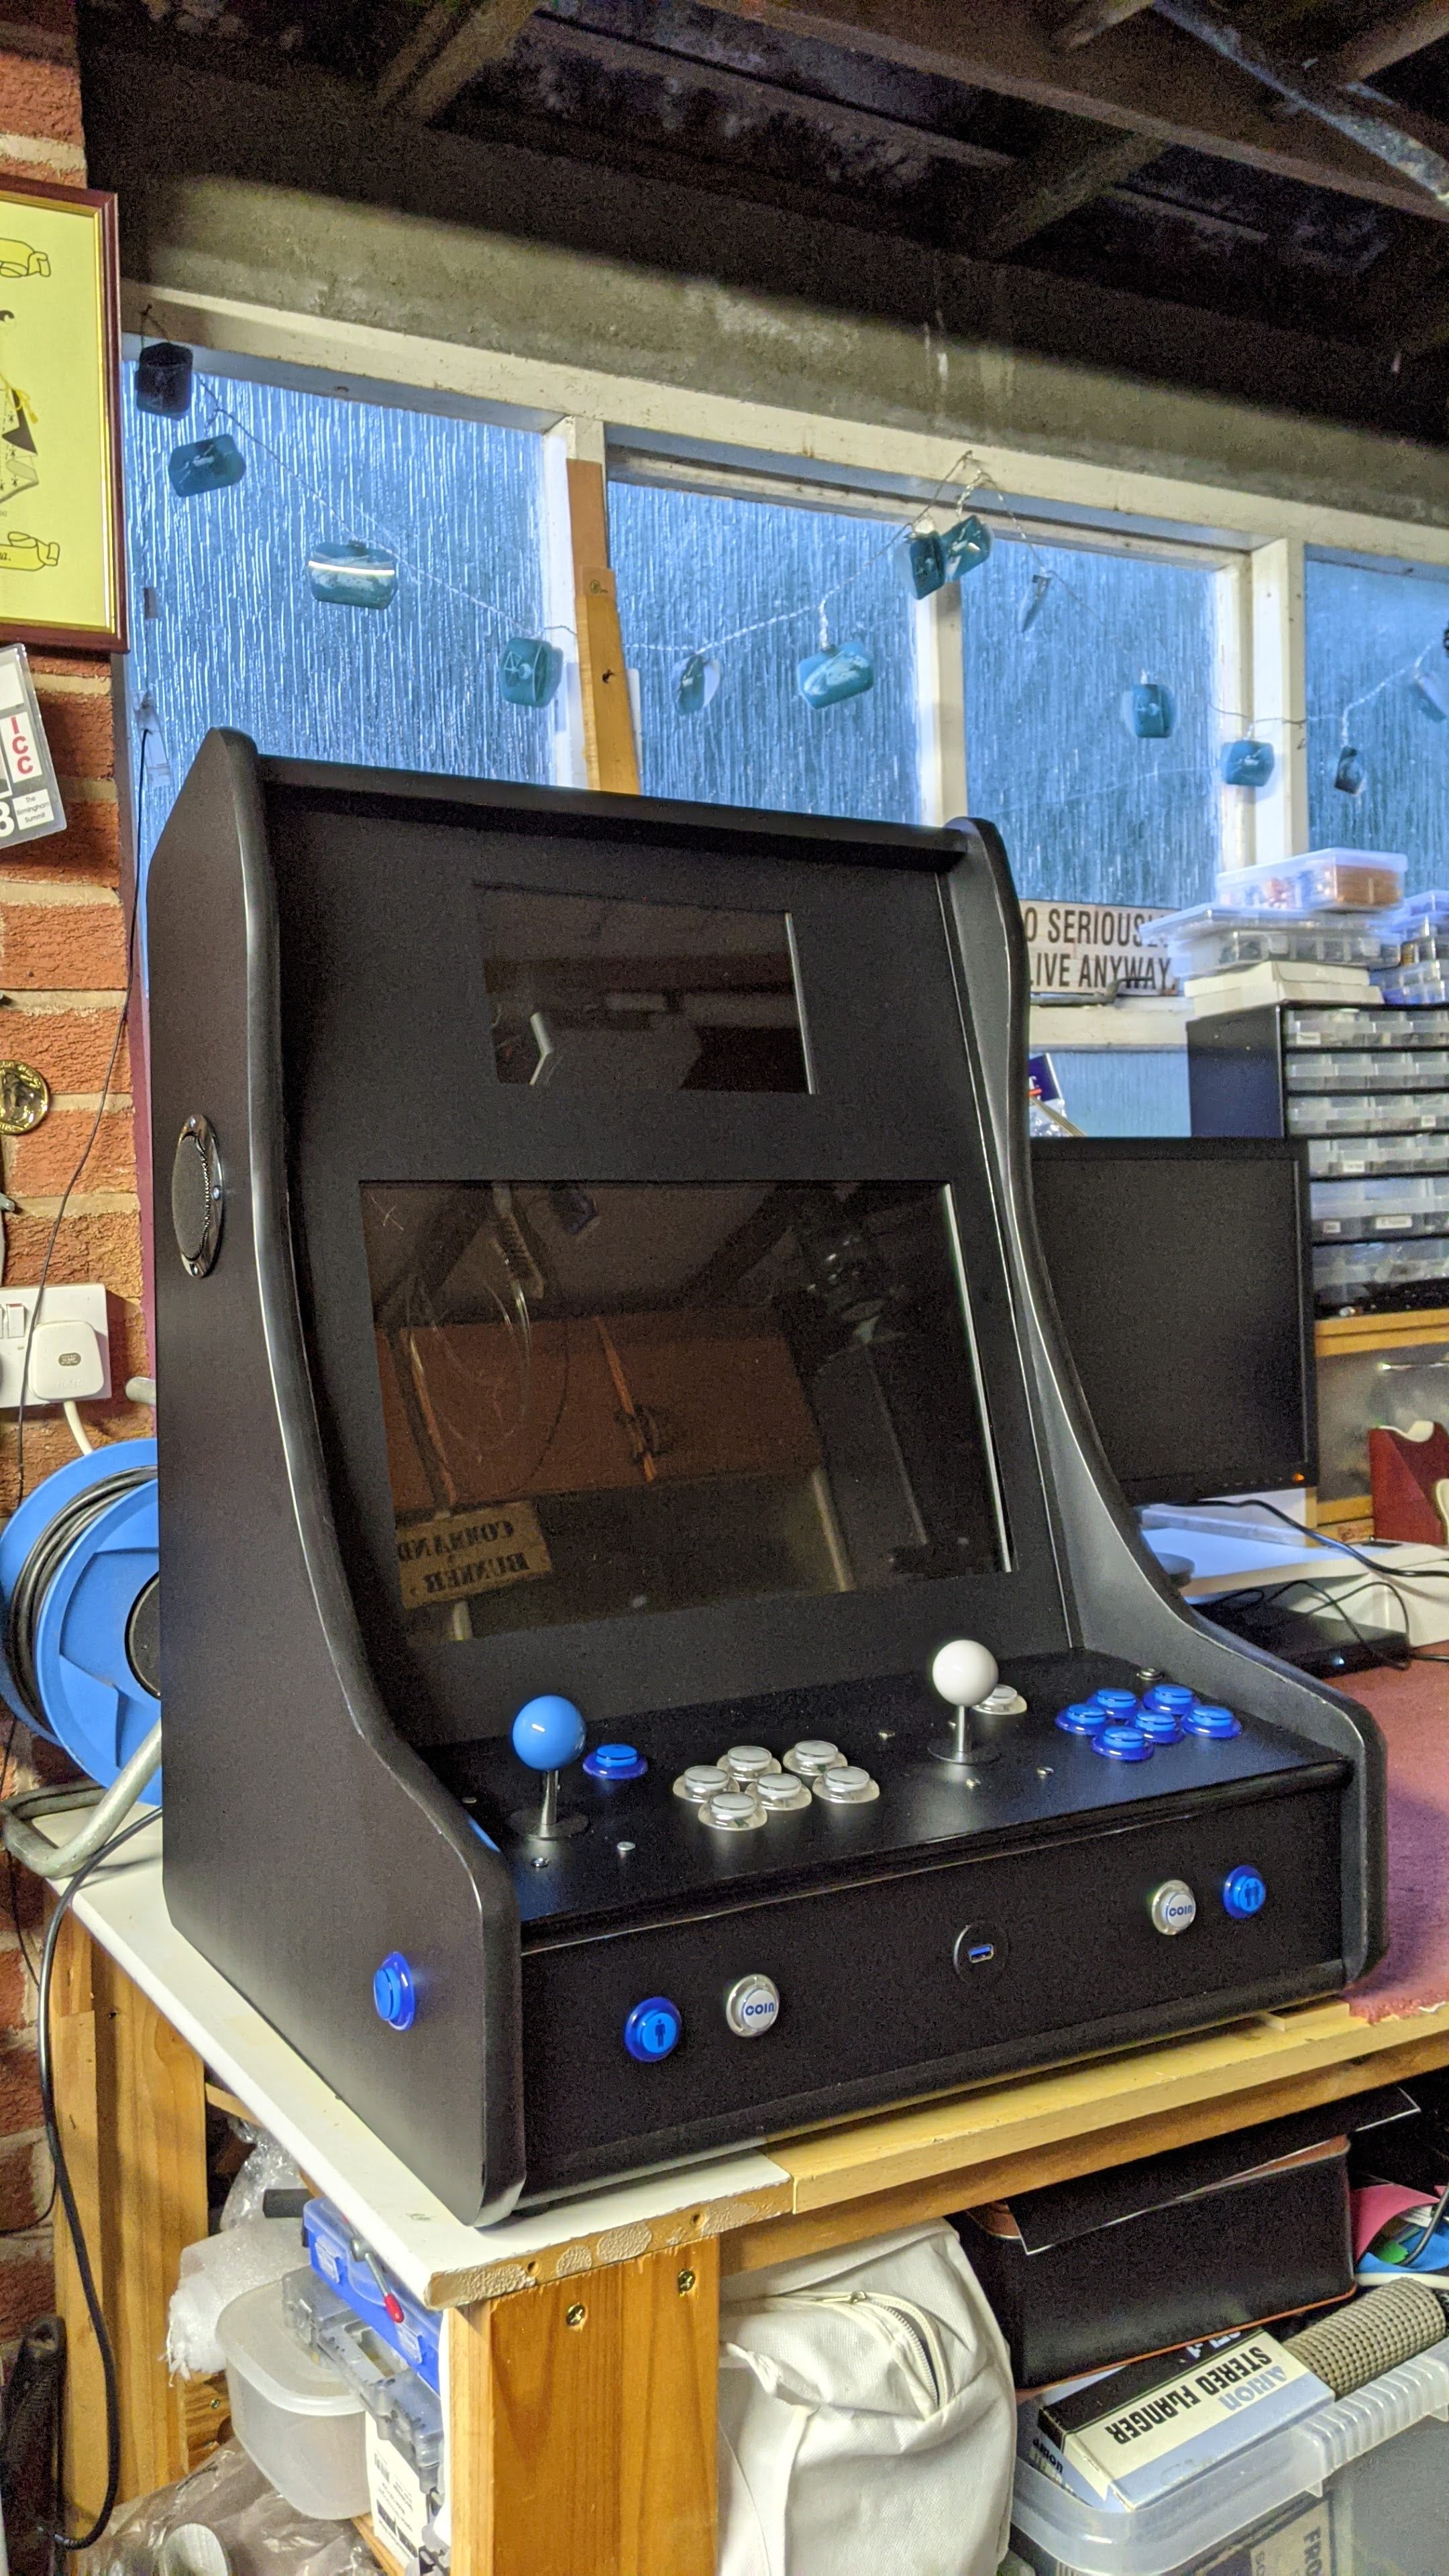
 As much as I love the all black finish I think the machine should be loud and proud, Arcade machines are designed to draw attention and make money so with that in mind I designed a Star Wars themed control panel.  I sent away to a vinyl printer and I think it turned out exceptionally well.


The vinyl is laminated so it should be hard wearing on the control panel.  Installation was simple and just a matter of carefully lining up the artwork (after removing the buttons and joysticks!) and sticking it down with a 5mm overlap. I then used a soft scraper to remove any air bubbles and trimmed the edges with a scalpel. 

I think the transformation was amazing and gives the machine a personality.  But I hadn't finished yet, I had a set of Star Wars themed wall stickers and applied them on the sides and bezel.

Now we are really getting a theme going. These stickers adhere extremely well to the black vinyl and once again I used the soft scraper to push them on firmly and remove any air bubbles.  

One final job was to make a back door, I decide to fit it as a hatch rather than a traditional locking door.  The machine isn't going to be anywhere public so I don't think security is an issue.  I used 4 magnetic latches to hold the hatch in place and added two silver handles.

I then covered the outside with black vinyl and added the last of my wall stickers to complete the theme.  There is no ventilation however I have been monitoring the cpu temperature of the Raspberry Pi and have a fan fitted in the Pi case so I'm not concerned right now.

I have created an intro video and started to theme the marquee screens, I also added a Star Wars theme in Emulation Station but there is plenty more to do to make the machine 100% Star Wars!

Conclusions : All in all I have invested about £400 in this project, I'm sure I could have done this a lot cheaper if I hadn't opted for the second screen (I already had a second screen but it broke after a couple of days and i chose to buy a replacement).  I could have installed a PC in the cabinet, which I already had, however I chose a Raspberry Pi instead and went for the top of the range 8GB model.  I also purchased a 400GB SD card which was an additional expense.  I also spent a bit on router bits for cutting the T-Moulding slots and hole cutting drill bits for the button holes, all of which i can use again on other projects.  It was a challenging project in the respect that I hadn't any plans or experience building anything like this however I enjoyed the challenge and love the results.

Thursday 17 June 2021

Final construction - Part 12

One big decision I have been putting off was how to secure the control panel.  I wanted it to sit at a slight angle parallel to the slope of the sides and be flush against the bezel glass.  Unfortunately the only material I had for the control panel came up about an inch short however I attached a piece of trunking to the rear edge which gave me the required length and covered that in black vinyl to match.

I was then able to line up the control panel and mark up the panel's final position.  I then used modesty blocks secured to the sides and one at the front to hold the panel in place.  I had to drill out the single hole in the modesty blocks to accommodate the alum bolts I had chosen to use and the flat sided nuts worked by pressing against the side of the cabinet meaning they would basically self tighten as I screwed in the bolts. 

Initially I thought I might get away with just 2 bolts (one each side of the panel) but later added a 3rd at the front.  It's not too difficult to remove the front panel now by unscrewing the 3 bolts from the top with an alum key and let the nuts drop into the cabinet.  After I was happy with the position of the panel I added two black self adhesive strips to the sides of the bezel to hide any gaps.
And that was construction completed!  

I still have to make a back door but I have an idea for that and an old kitchen cabinet shelf that is exactly the right width but a little short on height. But I can now think about graphics for the cabinet.  You may have already guessed the theme from the banner at the top of this blog!

Sunday 13 June 2021

Wiring everything together - Part 11

It was never going to pretty inside the MELT bartop cabinet.  I have to accommodate a Raspberry Pi, 2 monitors, an amplifier and speakers, 2 joysticks and multiple buttons and  USB extension to the front panel.  I purchased an 8GB Raspberry Pi 4 and a 400GB micro SD card.  I wanted to mount the Pi on the back of the lower monitor which puts it in the centre of the cabinet making it easily accessible. I added an SD extension as I planned to have a main image and a second image dedicated to Pinball games so this would make swapping the SD card easier.

I used self adhesive cable ties and regular cable ties to try and and route everything cleanly and neatly.  That will help with air flow and just makes it easier to work on.  It's difficult to make everything tidy with so many cables in such a confined space.

One of the more challenging parts of the build is keeping all the control button's wires neat.  Each button has 4 wires, a pair for the switch and a pair for illumination.  I also had the 2 buttons on the side to connect as well as the 4 buttons on the front panel and the space is tight.  Each button has to connect to the Zero Delay USB board and that meant extending the wires to the pinball flipper buttons.


To make things even more difficult though I still hadn't decided on how the control panel would be held in place so I knew I was going to have disconnect it all again to resolved that problem.

I used the original Creative speakers that I knew marched the amplifier adding some small rubber spacers between the speakers and the cabinet.  They are more than loud enough and the quality was acceptable in their original format but I don't expect booming bass in their new home.

The blue and white buttons looked great with power however 2 blue buttons on the front panel didn't work so I had to buy a couple of replacements which light up much brighter than the rest.  I could add a resistor to each of them but I'm not that bothered for now.


Finally I wanted to add some lights under the cabinet.  I fitted 4 feet to the base and then stuck an LED strip around the base, there is a control box for the strip which is also mounted underneath that can be controlled by a phone app.  I set them to light up blue and they have their own power supply so I'm glad I added a six way power extension as I needed the extra plug socket.


Saturday 12 June 2021

IR issues - Part 10

Everything is coming together nicely.  I kind have wished I'd covered the two monitor mounts completely with black vinyl just for completeness however my supply was limited as I'd just ordered what I needed to basically cover the inside and outside of the main panels plus I'd messed up the piece for the bezel so didn't have any spare.

There are a lot of wires to tidy up and cable manage but I wanted to get everything in place and tested before I got round to that.  I mounted a six way plug extension inside the bottom of the cabinet to give me a spare socket if I needed it.

Once I'd fitted the bezel perspex complete with black vinyl I discovered I could not adjust the top screen via it's remote control.  Most of the time the screen comes on as the mains is switched on however sometimes it does not come out of stand by and I didn't want to be opening up the back door to power cycle the screen everything is failed to come on.

So I took the bezel off the top monitor and relocated the intra red sensor to a wiring loom that I then mounted on the amplifier panel at the back.  I can just reach round and use the remote if I need to and it saved having to cut a small window out of the vinyl on the front of the machine. There were 3 wires to extend so I marked the orientation of the sensor before I carefully removed it so I could match the wires to the appropriate pins.

I had to drill a small hole in the back of the monitor bezel for the wires to break out and added a couple of cable ties to act as strain relief.  I added a connector midway on the loom so it's still easy to remove the screen of I have to without having to release the amp panel, plus I hot glued the IR sensor in place so that's not going anywhere!

Now we are really getting somewhere.  I fitted all the buttons and joysticks in place, I still have to wire them up but the machine is really looking good.  I can still see some of the LG monitor bezel behind the bezel, I picked the only monitor I had that has a silver bezel itself!  I ended up removing the front perspex, masking up the screen and spraying the silver bezel black. A simple fix for a simple problem!

The joysticks are a great height and it was well worth routing out a recess for them on the bottom of the control panel.  Not only do they sit at the correct height but the base of the joystick is also better supported under heavy use.  I used coach bolts and nuts to secure the two joysticks.  I like how they look plus they should be super secure and not work lose. 

Friday 11 June 2021

Putting it all together - Part 9

I've basically created a flat pack for myself and so it should be pretty easy putting everything back together again.  I had been fitting the black T-Moulding to all the pieces as I went and found the groves I'd cut to be slightly wider than expected despite using the correct router bit as per the manufactures instructions.  It's not an issue as I packed the slots with card and added glue where needed.

The only thing I hadn't considered at this point was how to secure the control panel and in hindsight I should have addressed this earlier as access becomes more difficult as the case construction continues however I knew I was going to have a gap between the bezel perspex and the control panel and still needed a solution to this before finalising any solution.

I used my 3-D printed monitor mounts to secure the upper and lower screens allowing me plenty of adjustment and enabling me to eventually align the screens with the bezel perspex.

Finally it's starting to look like an arcade machine.  I had built a basic Rertopie image and copied a small selection of ROMs onto the SD card to test functionality and everything was running great on both screens.

I had sprayed the amp board panel black and fitted a momentary switch for the Pi safe shutdown script I planned to eventually install.


I also added a mains socket and switch.  I am going to need at least 5 plug sockets inside the cabinet for the 2 screens, the amplifier, the Pi and power for the panel buttons which are illuminated.

Wednesday 9 June 2021

3D printed bits - Part 8

There are several components that I needed to make bespoke.  I needed something to hold the bezel perspex in place, a backplate to hold the amp circuit and some adjustable brackets to hold the monitor brackets in place.  I had not done anything like this before however CAD software is installed on the PCs I support at work so I have some familiarity. I have an XYZ 3D printer at home and managed to use the software that came with the printer to create a backplate to hold the amplifier board before moving onto TinkerCAD which is free and runs in a browser to create the other parts.

TinkerCAD is very easy to use as it's just a case of grouping simple geometric shapes together such as cubes and cylinders as either solid shapes or holes.  The perspex brackets were very simple and designed on the modesty blocks I have been using to secure the pieces together consisting of a channel to hold the perspex and 2 holes to accommodate screws.

Next I designed and printed 4 adjustable brackets for the monitor mounts.  I wanted something I could rotate so the face of the monitors could be positioned parallel to the perspex bezel.  They were a little more complicated to build in TinkerCAD however the same principles applied in adding and subtracting simple shapes.

The amp bracket was a little more complicated however I took measurements from the original speakers and transferred the dimensions into the the CAD program.  The first print came out slightly off and one of the corners didn't print correct but I refined the design and the second print came out perfectly.


The panel on the right is labeled 'Pi' and I intend to host a switch to allow me to safely shutdown the host computer... yes, a Raspberry Pi

All in all I'm really happy with the parts I designed and printed.  I might have taken a little artistic licence on the monitor brackets by adding my surname to them!

I'm getting close to putting this all together now, very exciting!

Tuesday 8 June 2021

The Dark Side - Part 7

I decided I was going to cover everything in black vinyl.  I wanted a nice professional finish and I felt too much of the grain would show through if I just painted everything black plus the preparation and cost would also be the deciding factor.  I ordered a roll of vinyl and prepared the surfaces by lightly sanding and cleaning with sugar soap to remove any greasy residue.


The vinyl went on surprisingly well and adhered perfectly to the surface.  I used a scalpel to trim the perimeter and to cut out the speaker hole and button holes.  I couldn't wait to see the sides with the T-Moulding attached so I fitted that as well, cutting out a small piece of the underside of the trim when I got the the corners to allow it to sit better and follow the contours.

I carried on covering the control panel and cut our each button, once again I was excited to see the buttons in place.

I continued covering every piece of the cabinet until i essentially ended up with a flat pack kit, I couldn't resist laying it all out on the floor.  At this point I haven't sourced a back door however I have a plan for that.  I decided to cover both sides of everything.  The only things I didn't fully cover were the two monitor brackets.  

I didn't want any stray light inside the cabinet to bounce around and find it's way out of my less than perfect joints so I figured this would be minimised if everything was covered in black vinyl.  I've got to say that the pictures don't do the pieces justice and they look really professional. 

I still had to tackle the bezel glass and I'd been dreading doing this part.  I made one attempt and completely messed up as I tried to just line the vinyl up on the perspex and stick it down, I hadn't done my research on applying vinyl to glass or perspex and didn't realise that I needed to do this part wet! 

I had to cut a second bezel piece after I found out the correct procedure which is to wet the perspex with water (and a tiny bit of washing up liquid), then apply a little water to the sticky side of the vinyl, allowing for some movement before squeezing all the water out with a padded scraper.  The results were amazing and as good as anything I could have produced with a laser cutter. 


Monday 7 June 2021

Final woodwork tasks - Part 6

There are a couple of major woodworking bits to finish off, I need to route a slot in the top for the perspex bezel then cut a slot round the perimeters that require T-Moulding to be installed and finally cut holes in the side for pinball flipper buttons and speakers.  I started by routing a slot for the bezel which was simple and quick.

Next I set up my router table to cut the T-Moulding slots.  It took a long time to set up (as I hadn't used it for a long time!).  The important thing, after safety, was to keep the piece flat and square on the table which was easy to do on the smaller pieces but not so easy with the sides.  In hindsight I should have set the table up to apply pressure on the piece to hold it flat against the table.

The actual routing didn't take long at all and I was quite happy with the results although I later found out that I was not completely central in some areas as the sides were not always flat on the table bed.

I had originally planned to have the speakers mounted on the bezel either side of the top marquee monitor, however as I couldn't use the laser cutter at work because the perspex was too large, I decided to mount them in the side panels instead.  I used a hole cutting bit to cut out the two holes as well as adding a button hole each side for 2 extra buttons to be used a pinball flippers.

Next I have to decide how I am going to finish the cabinet and as much as I love the natural wooden look I don't think it is really what I want to achieve...

Control panel holes - Part 5

Next on the list was to drill out all the holes for the control panel, front panel and sides.  I planned to have 7 buttons per player on the control panel plus 2 holes for the joysticks then 4 buttons on the front panel and a USB hole and finally a button each side (for pinball games)

I set up my drill press with a 30mm bit to drill the main buttons which are 28mm in diameter.  That gives each button a little bit of wiggle room.  I had 2 boxed USB joystick controllers already so I used one of those to act as a pattern.  I found the chipboard wore the drill bit our quite quickly and ended up ordering a second 30mm bit for the side buttons which are the same size.

I also routed a recess for the joysticks.  This means the joystick sits recessed and there is more length showing on the control panel itself.  My friend hadn't done this on his build and ended up ordering shaft extensions as it made game control feel wrong with less of the shaft showing.

I also drilled 4 holes in the front panel for player one and 2 coin and start buttons.  These will accommodate 24mm buttons so the holes were cut with a 26mm drill bit.  The wood is a lot softer and was far more forgiving on the drill bit.  Finally I added a hole in the centre of the front panel to allow me to fit a USB port.

I think having access to a drill press was a good thing.  I could have drilled these all with a hand drill but there is much more control with the drill press.  I found the best way to drill each hole was to start one side using a flat hole cutting drill bit.  Once the point popped out of the underside I flipped the wood and drilled through until the cut met in the middle.  That way the holes are neat each side with no tearing around the holes.

Sunday 6 June 2021

Bezel perspex and black vinyl - Part 4

I continued to refine the layout for the bezel.  I have access to a laser cutter at work however the dimensions I need are too big for the bed so I decided to cut out a piece of perspex by hand then overlay black vinyl with cutouts for the two screens.

It was a long and slow process as I decided to use a hand saw rather than a jigsaw.  I tested a piece with the jigsaw and found heat was an issue.  The perspex is 6mm thick so I took my time as I didn't want it to split.  The perspex originally came from a building at work that was been demolished, nice skip find!

Once I have the main bezel cut and carefully sanded around the edges I roughly laid out the pattern I wanted to cut our of vinyl.  I then carefully measured everything to produce a more precise layout.

I then used a scalpel with a brand new blade to cut out everything. The vinyl has convenient lines already printed on the back (spaced at 1cm intervals) which helped keep everything perfect.
 

I was then able to attach the vinyl temporarily to the perspex to see how everything looked and if the alignment was OK.  One thing about the lower monitor is that the bezel is silver, I contemplated removing the bezel on the screen completely but would later mask it up and spray it black instead.

I didn't stick the vinyl onto the perspex straight away.  I didn't want to mark or damage anything while I was still basically test fitting all the pieces.  That's another story!