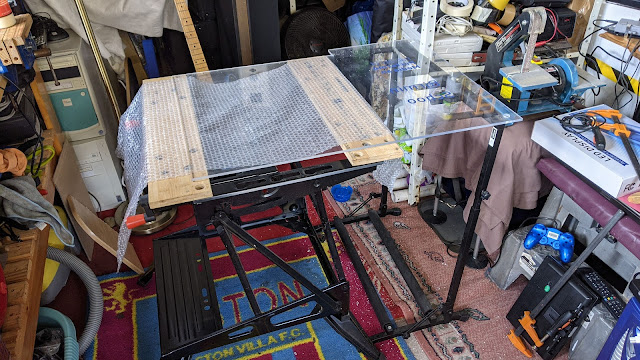
I continued to refine the layout for the bezel. I have access to a laser cutter at work however the dimensions I need are too big for the bed so I decided to cut out a piece of perspex by hand then overlay black vinyl with cutouts for the two screens.
It was a long and slow process as I decided to use a hand saw rather than a jigsaw. I tested a piece with the jigsaw and found heat was an issue. The perspex is 6mm thick so I took my time as I didn't want it to split. The perspex originally came from a building at work that was been demolished, nice skip find!
Once I have the main bezel cut and carefully sanded around the edges I roughly laid out the pattern I wanted to cut our of vinyl. I then carefully measured everything to produce a more precise layout.
I then used a scalpel with a brand new blade to cut out everything. The vinyl has convenient lines already printed on the back (spaced at 1cm intervals) which helped keep everything perfect.I was then able to attach the vinyl temporarily to the perspex to see how everything looked and if the alignment was OK. One thing about the lower monitor is that the bezel is silver, I contemplated removing the bezel on the screen completely but would later mask it up and spray it black instead.
I didn't stick the vinyl onto the perspex straight away. I didn't want to mark or damage anything while I was still basically test fitting all the pieces. That's another story!


No comments:
Post a Comment
If you have any comments or questions please leave them below