One big decision I have been putting off was how to secure the control panel. I wanted it to sit at a slight angle parallel to the slope of the sides and be flush against the bezel glass. Unfortunately the only material I had for the control panel came up about an inch short however I attached a piece of trunking to the rear edge which gave me the required length and covered that in black vinyl to match.

I was then able to line up the control panel and mark up the panel's final position. I then used modesty blocks secured to the sides and one at the front to hold the panel in place. I had to drill out the single hole in the modesty blocks to accommodate the alum bolts I had chosen to use and the flat sided nuts worked by pressing against the side of the cabinet meaning they would basically self tighten as I screwed in the bolts.

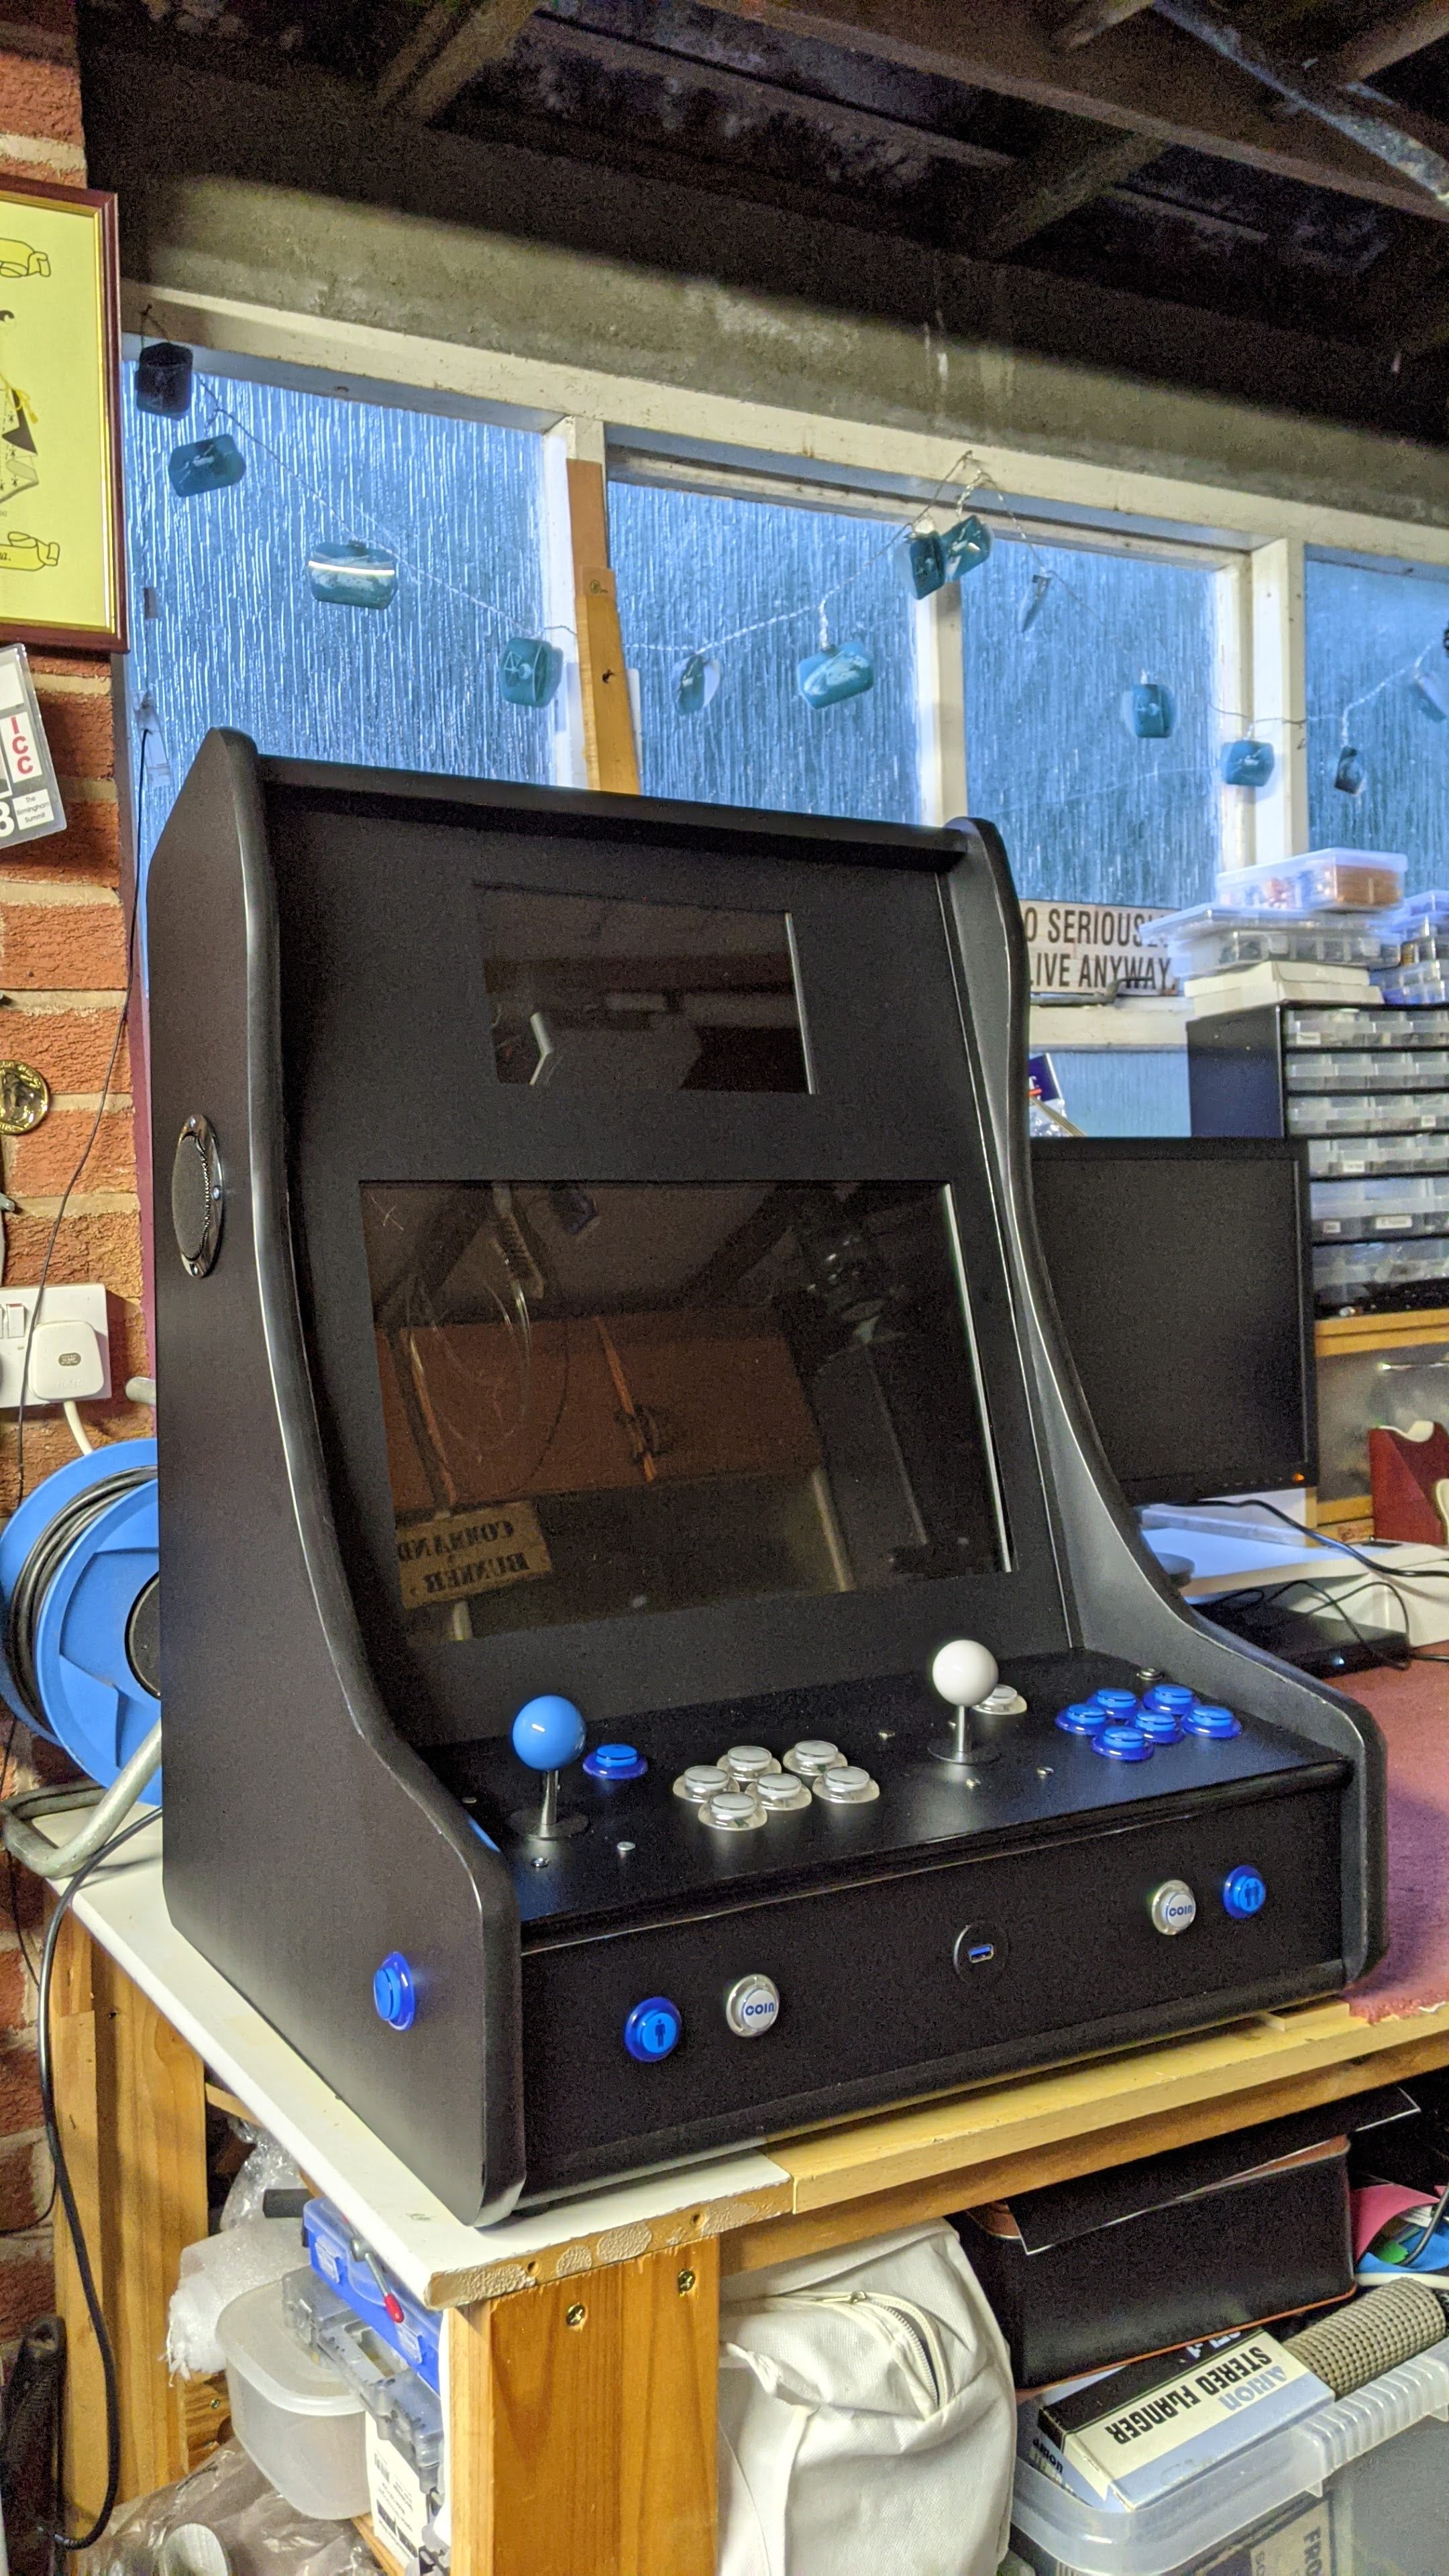
Initially I thought I might get away with just 2 bolts (one each side of the panel) but later added a 3rd at the front. It's not too difficult to remove the front panel now by unscrewing the 3 bolts from the top with an alum key and let the nuts drop into the cabinet. After I was happy with the position of the panel I added two black self adhesive strips to the sides of the bezel to hide any gaps.
And that was construction completed!
I still have to make a back door but I have an idea for that and an old kitchen cabinet shelf that is exactly the right width but a little short on height. But I can now think about graphics for the cabinet. You may have already guessed the theme from the banner at the top of this blog!
No comments:
Post a Comment
If you have any comments or questions please leave them below